Kaixo (Hello in Basque country)!
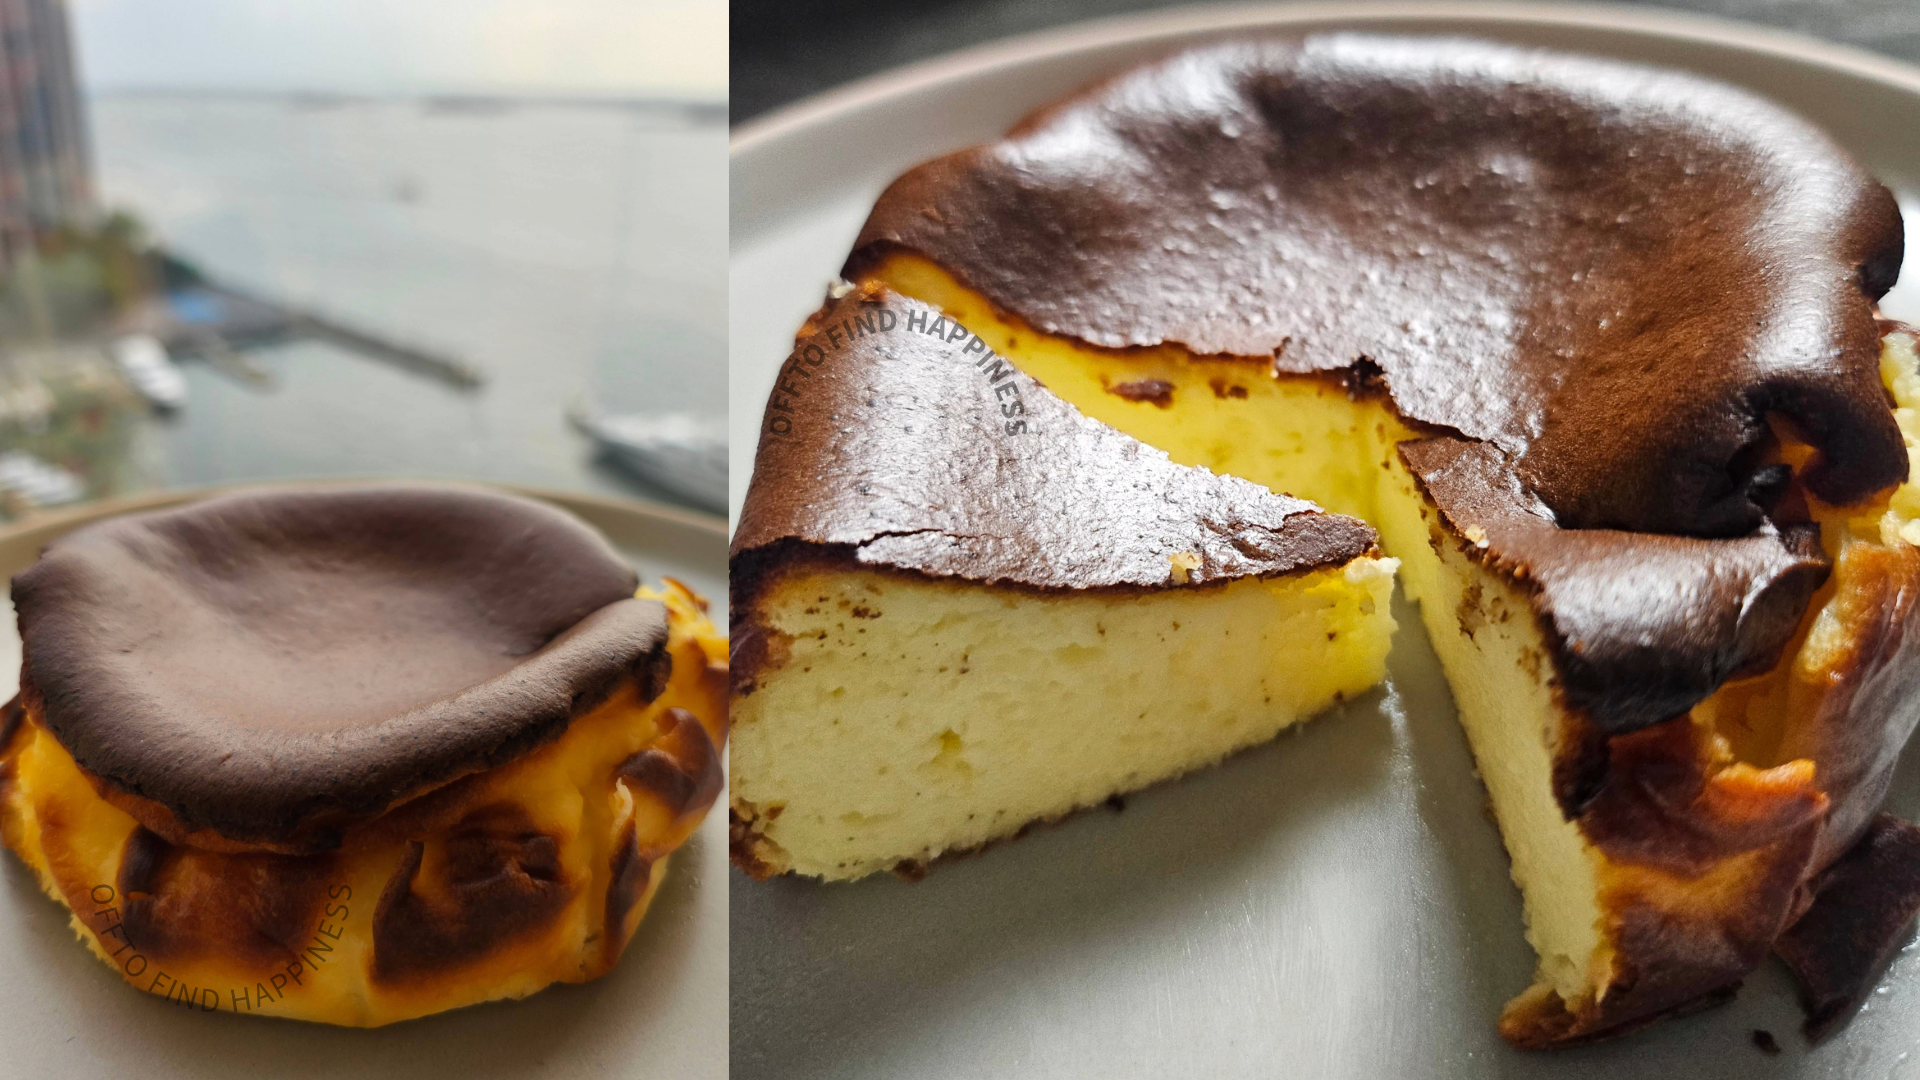
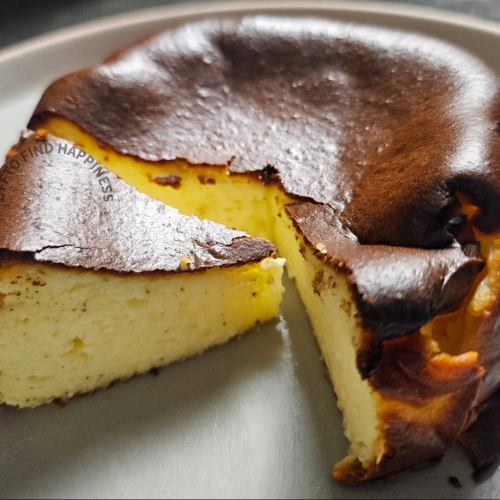
Tucked in the northern part of Spain, the basque country is renowned for its burnt cheesecake. Don’t be alarmed when I say burnt, it is just the right amount of caramelization to result in a distinctive look and a taste that will make you reach for a second slice!
This recipe only needs 5 ingredients; eggs, heavy cream, cream cheese, coconut flour and erythritol (optionally you can add a pinch of salt). I’m sharing the units of how much we need down in the recipe below.
Tips & Tricks To Make Your Keto Basque Cheesecake Better
- This recipe requires FAT so don’t be shy to use full fat, especially if you are on a keto diet. Low-fat versions of heavy cream or cream cheese will give you a hard time
- Make sure all your ingredients are room temperature, take them out of the fridge an hour or so before you start cooking. This not only saves the cake from getting a sudden shock when it goes into the hot oven but also allows the ingredients to mix together easily. The first time I tried to make this cake I had a hard time mixing the cream cheese because of how dense it was when it was cold. I ended up spending too much time trying to soften the cream cheese with the spoon now I always remember to give the cream cheese ample time to soften. If you are in a time crunch put it in the microwave for 10-15 seconds, just enough to get it softened but not too much.
- It’s easier to make this cheesecake using a mixer and it could be anything from a hand mixer to an electric mixer, but if you don’t have one you can just use a spoon (to soften the cream cheese) and fork (after you add liquids in) to ensure everything is mixed well together.
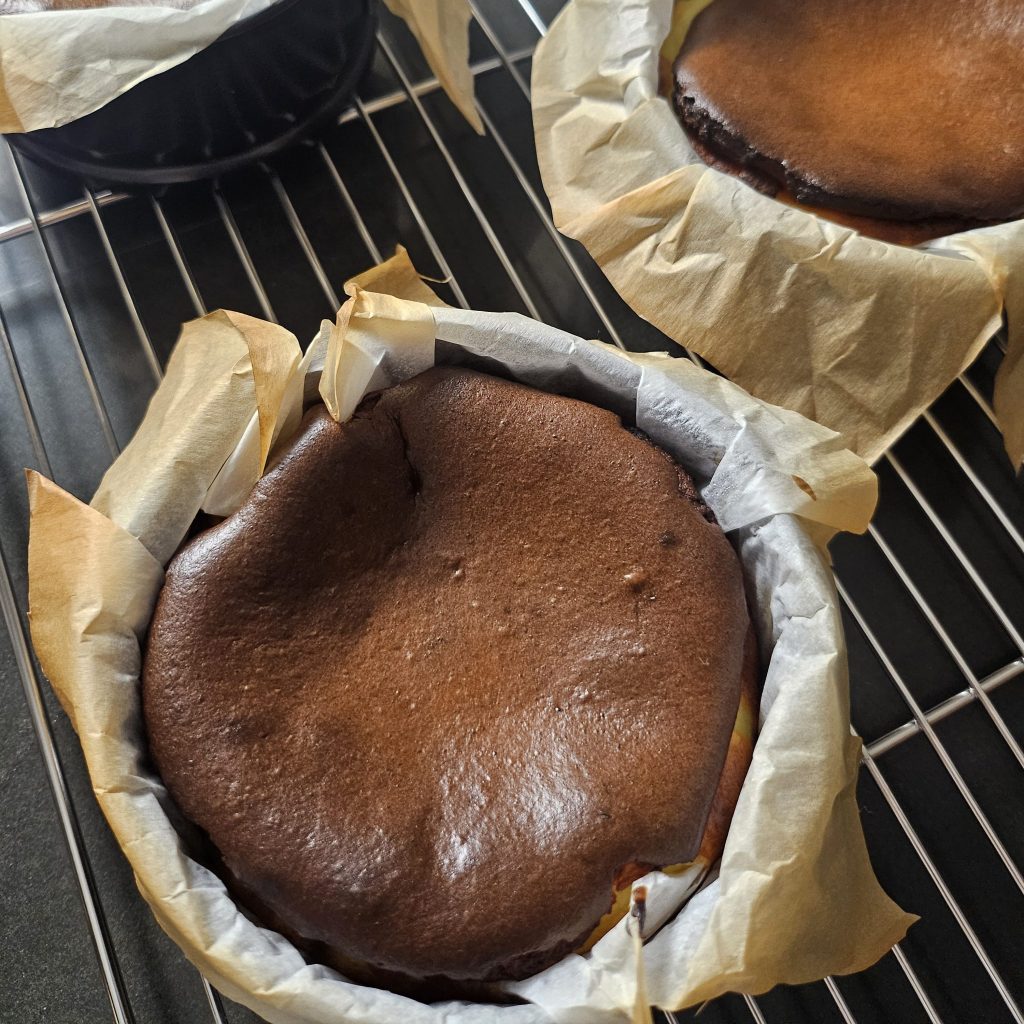
- Scrunch up parchment paper a little bit with your hands. This helps lay the paper easily and also gives the cheesecake a little bit more of a rustic feeling with peeling edges. If you prefer to lay the parchment paper as is, feel free to do so.
- The hardest part in the recipe is after you finish baking, resisting to eat it right away! Let the cheesecake come down to a room temperature and properly set, this usually takes about 2 to 4 hours. If this is your first time trying it and I recommend you save some of the cheesecake for next day. The cheesecake almost transforms into a smaller, denser and more flavorful version. Just leave the cake pans uncovered in the fridge after it gets down to the room temperature. That’s another 8 to 10 hours of not being able to eat the cake, I will admit that I have skipped up step and ate the cheesecake after a few hours, but I always enjoy the next day batch more as it tastes so much richer.
A Small Note About The Cake Pans
I love love LOVE using four inch cake pans, as it allows everybody to experience the WOW moment of peeling the parchment paper to reveal the amazing caramelization. Honestly, it also saves me from slicing and plating as everyone has their own individual sized Basque cheesecake.
When I’m using the small cake pans I also like to change up the ingredients in individual molds so I end up having four different flavored Basque cheesecakes as opposed to just one. You can try flavors like vanilla, chocolate, lemon or be a little bolder and add matcha or raspberry.
If you want to get the same 4-inch easy release clasped pans, here is the Amazon link to the ones I bought and used happily while I was testing variations of this recipe: https://amzn.to/3KvEik5 *

This is just a personal preference, if you want you can work with a wider cake pan just make sure that it is not wider than 9 in as we want the cake to rise a little bit. Keep in mind that if you are using a smaller pan (4 -6 inches) the cake could rise a bit out of the pan, just like a soufflé would, but don’t worry, it’s NORMAL. As the cheesecake is resting it will collapse down.
*Full transparency: I haven’t been paid to write this review, nor was I given these cake pans for free. I paid for them using my own money and have written this review in my own time. I will however, earn a small payment if you purchase on Amazon through this link. This doesn’t increase the cost of what you purchase, nor do these links influence what I write.
Can Keto Basque Cheesecake Be Frozen?
YES! If you made more cheesecake than you can consume in a couple of days I’ve got some good news for you the Basque cheesecake can actually be frozen. Just make sure to let it thaw before eating it.

Easy Keto Basque cheesecake
Equipment
- 4 4-Inch Mini Springform Pan The pans I'm using are https://amzn.to/3KvEik5
- Parchment Paper If you're looking to upgrade your parchment paper try https://amzn.to/3Y7hKwq
Ingredients
- 3 Eggs
- 10 gr Coconut Flour You can find it here https://amzn.to/3Y2Q7EP
- 80 gr Sweetener My personal choice was Erythritol https://amzn.to/482JYgk
- 100 ml Heavy Cream
- 1 lb Cream Cheese (453 gr)
- 1 tsp Vanilla (Optional)
- Pinch of Salt (Optional)
Instructions
Mise En Place (Set Up)
- Make sure all your ingredients are room temperature.
- Preheat your oven temperature to 475 Fahrenheit or 245 Celsius.
- Line the cake pans with parchment paper.
Preparation
- Mix all your ingredients together into a smooth batter. Start with mixing/softening the 1 lb Cream Cheese then add the rest of the ingredients.
- Pour the batter into cake pans.
- Bake in the oven for 40 to 45 minutes. Rotate your tray at the 20 minute mark and check in on the progress to estimate the remaining bake time.
- ! Make sure you wait for the cheesecake to cool down to room temperature before you eat !
- The cheesecake will get denser and richer if you leave it in the fridge (uncovered) overnight.
Leave a Reply